collage

collage

Tuesday, August 5, 2014

It's been a busy month...

I always envision myself posting weekly or even more often than that. I often write up blog posts in my brain as I'm falling asleep at night, but then, when I wake they are gone and the busyness of the day takes over and another day, week, month goes by without a single post here in this space.

It's not that I've not been busy. In fact I've been knitting my little fingers off of late. I am test knitting a few hat patterns for one of my favorite indie yarn dyers sweet fiber! Melissa's designs are amazingly beautiful and even in test version her patterns are almost flawless. It's a pleasure to test knit them for her. My only wish is that I had a huge stash of her yarn so that I could knit each test piece in the yarn called for. Hopefully she will be at Stitches again this year so I can stock up.

Along with test knitting, I finished up a quick pair of socks. As I've mentioned before, I love to bring socks along when I travel. They are infinitely portable and often an easy somewhat mindless project that I can work on while chatting with the lovely folks I'm visiting. This year I knit almost an entire first sock on the plane from CA to NH!

This is Canon Hand Dyes William Merino Sock in color way Slytherin!!! It is amazing stuff!


I was a bit worried I'd run out of yarn! Ok I confess, I was secretly HOPING I'd run out of yarn so I could go yarn shopping in a state with no sales tax! In the end I restrained myself and slowed down on sock #2 and then broke into my "emergency" yarn.

This is Indigodragonfly Merino Single Lace in color way Beige! I think it's going to make one spectacular Trillian!

And so even though much of the last few weeks was spent like this:


and this:


and this:


It's back to reality now with school about to start in 13!!!!! days! I hope to add more fun 'makes' to this place soon! 


Monday, June 30, 2014

Adventures in sewing with knits!

I've been trying to learn how to sew with knits for a while now. I've had quite a few complete disasters which is totally disheartening, especially since that type of thing never really happened when I learned to sew with wovens.

I've bought and cut up and subsequently thrown away quite a few yards of knit fabric. Always hoping  that 'this time' it will work!!! Sadly the only thing I've successfully created was this:


This fun reversible double knit was supposed to become a T for me, but all that was salvageable after I messed it up was enough to make these tiny leggings. 

The one good thing to come out of this mess up was that I had time to learn how to use the serger I have been holding on to for a friend and also the best settings on my machine for the double needle. The tiny hems on these pants were pretty easy and aren't puckering at all. 

And so when Crafterhours announced her Friday Fiver was the Union St Tee by Hey June, I pounced. I bought the pattern thinking the bits of knit I had leftover from my latest disaster would be enough to try a first one.

I immediately printed the pattern and tiled it up only to find I was missing a vital page in the PDF. SO instead of sewing that first day I went in search of cheap knits to cut up. I found a $3 men's XXL T-shirt at target and when I received the corrected pattern the next day, I proceeded to cut it up. Based on the measurements in the pattern I cut out a small. I decided to start with the scoop neck with the wide neck band and got to work. About an hour and a little swearing later I had this:


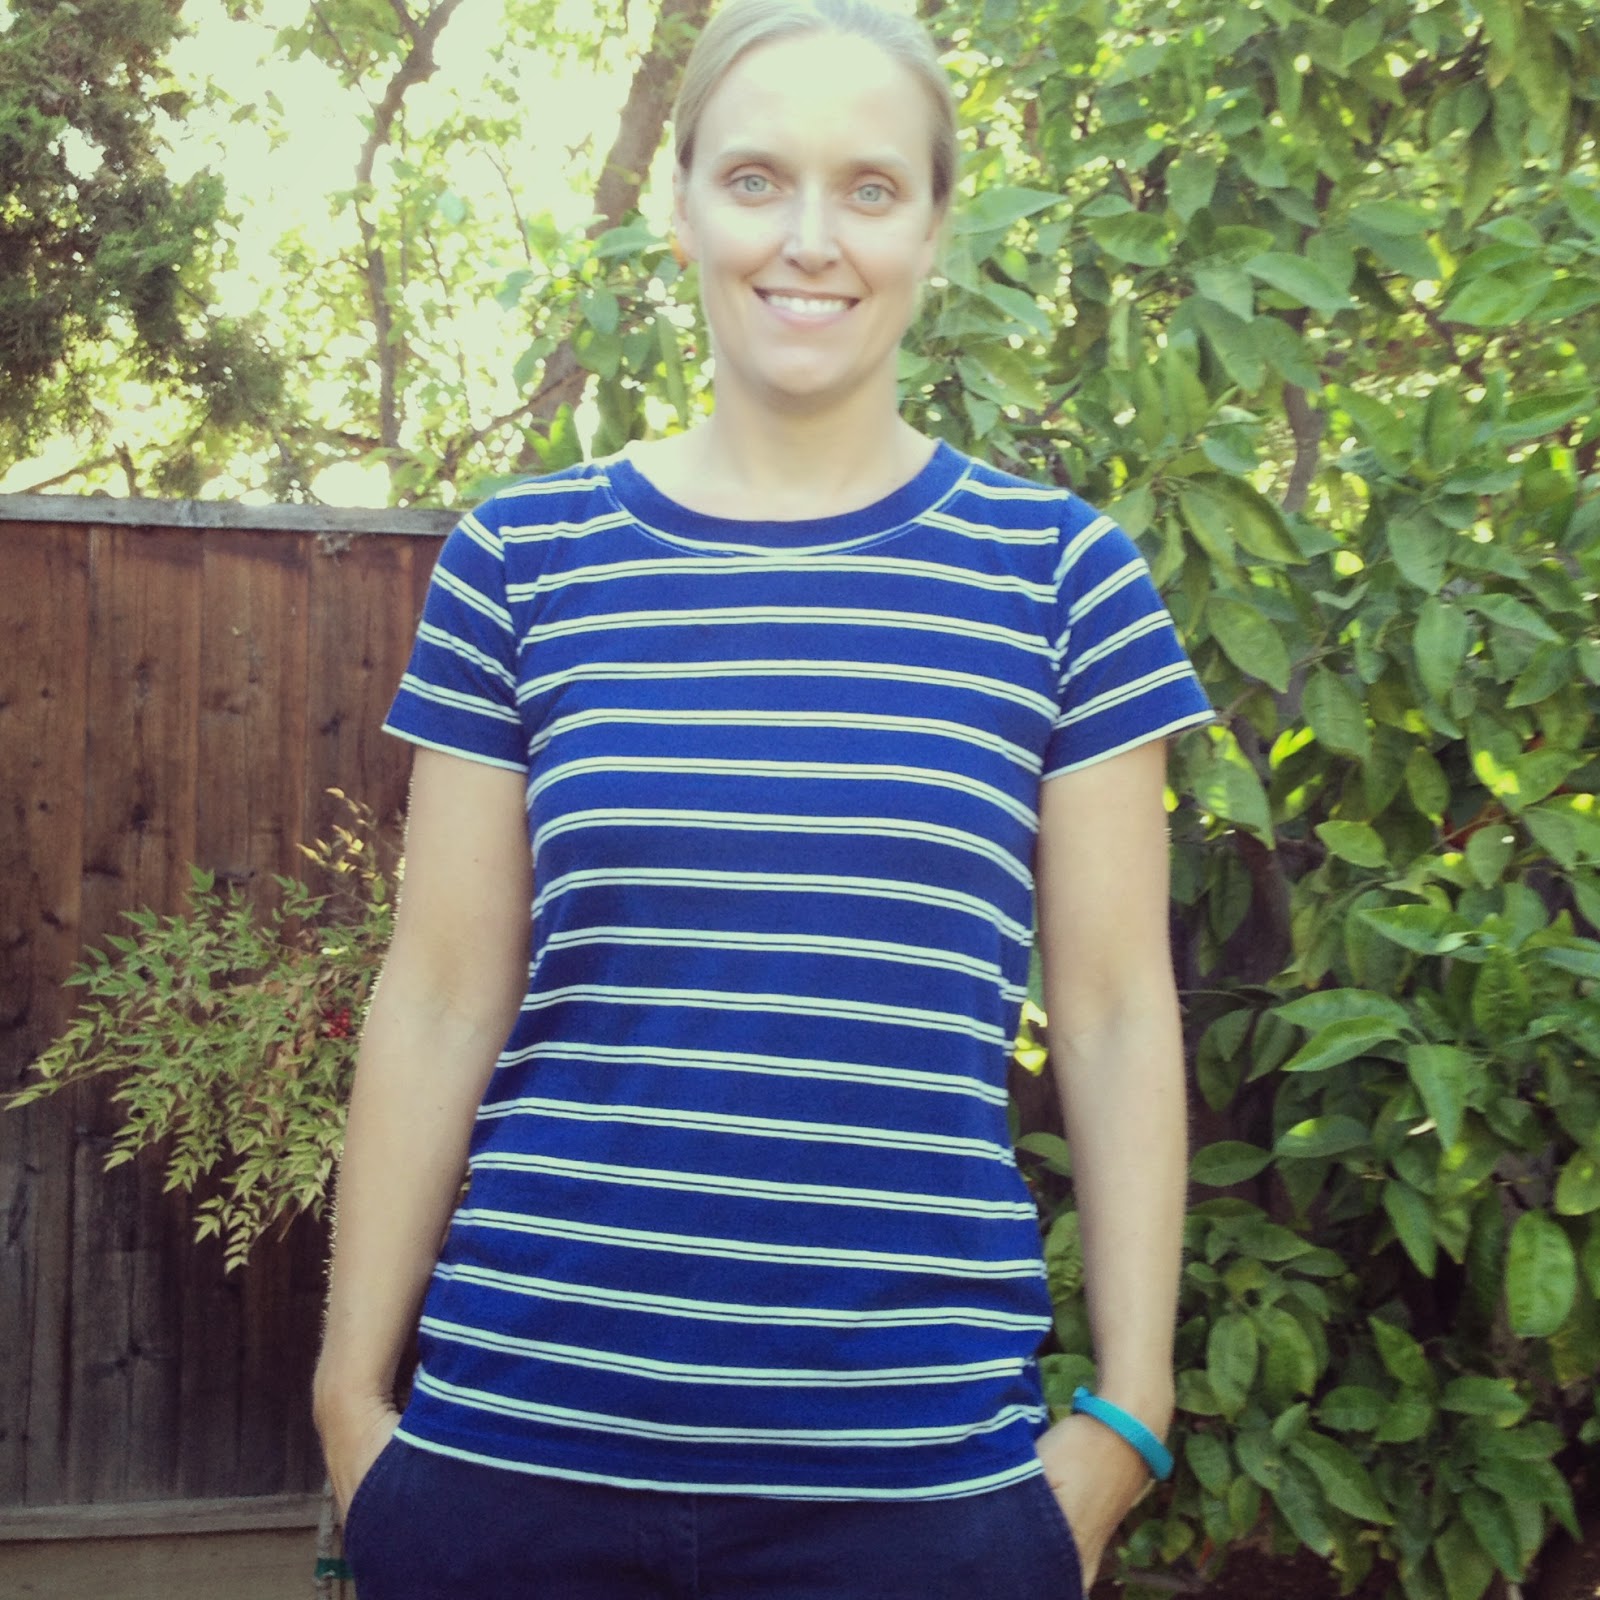
It's a totally wearable T-shirt. Granted I cheated a bit and kept the original sleeve and bottom hem when I cut up the shirt, it made it a little easier and less daunting for a first try. Being cut from the stripe, the neckband looks a little weird since the white is right at the edge, but hey for $3 I'll call it a win. I almost even got the stripes to line up on the sides. 

Try two, although wearable was less successful in my mind. But mostly that is my fault for choosing this fabric and for my finishing. 


This is a cotton knit from Joann's. It's soft and I made another pair of those tiny leggings with it a while back, but for a T-shirt for me it's a bit heavy. No drape at all. Plus I was lazy or not thinking or whatever the reason, but I used white thread in my double needle for the hems and it doesn't look great. not only does it scream 'handmade' but it makes it painfully obvious that I am still learning  how to sew a straight line on knit fabric. Oh well, I have worn and washed it a couple of times and I don't think anyone else really sees the mistakes. 

And so I feel excited to continue on my journey to sew the perfect T-shirt. This pattern comes with many other options for sleeve length and also a v-neck opening that I am excited to try. I have learned also that I should probably cut out an XS  next time as on both of the above T's I re-serged the side seams to take it in a touch and they are still looser than my usual T's. I'd love to be able to make all my own T's from now on. With my long torso I always find store bought T's to be a little bit on the short side and I'd love to not have to tug at my hems every day! 

This set up worked well for sewing with knits, I only wish I had some real understanding of how this serger works so I could utilize it to it's potential. So far it's all been trial by error. Maybe that's the universe's way to nudging me to buy my own serger… 


Hold on a second… first things first… a new sewing machine gets first priority!! Happy Sewing!


Thursday, June 12, 2014

Adventures in sock knitting!

At Stitches I bought a skein of self striping sock yarn from Canon Hand Dyes. It's one of the nicest skeins of sock yarn I have ever purchased and so I wanted to be sure I did it justice. I want the stripes to remain perfect on the front of the socks and I want them to fit really really well.

In order to make sure those two things could happen I tested out techniques. First I did toe up socks with some splicing to keep the stripes consistent.


I just did a simple toe up sock starting with 10 stitches, increasing to 60 stitches. They are super soft and fun (Knit Picks why oh why are you discontinuing Felici, please tell us all that you are simply going to reintroduce it in some fantastic new form!), BUT they are a little too long. I just can't seem to get the knack of when to start the heel on a toe up sock. 

So enter the Shamrock Felici:


I did my usual 64 stitch sock on 2.75 mm needles and knit about an inch of gray 1x1 ribbing, then I found the start of that blue green color so I could make sure to get a full strip and started knitting. I only knit about 5 inches before putting in the waste yarn for the heel and then I continued on. SOOOOO EASY and mindless! The first sock I knit across 32 stitches and then turned and knit back so I had two rows of stitches to pull out. On the second sock I realized I didn't have to knit back, all I had to do was transfer the stitches back to the left needle and then start knitting with the green yarn again. Much easier to pull out the single row of stitches to open up the heel!

I had a lot of concern about how to  know when to start the toe decreases, but doing a little surfing I found a formula:

Total length of foot - two sets of normal toe decreases =  length of foot from waste yarn to start of decreases. For me this was  9"- 2(1.75)= 5.5" 

I wish I could remember where I found this so I could give this lovely lady credit for her formula, but I can't seem to find it. 


I just picked up the right leg of 32 stitches above the waste yarn and 32 below and then…ZIP… pulled out the waste yarn and voila!!!


It looks like such a mistake doesn't it and I was a bit worried. But then I realized even if I had messed it up completely since I didn't cut the green yarn I could have just started over!


I started knitting with the grey yarn again and after 3 rows plain, I began to knit a second toe on the heel. It looked super strange on the sock but I kept going, sewed up the two little holes that appeared on the top of the opening and the put it on! I was amazed at how perfectly this sock fits my foot! 


The major bonus is that in barely 8 days I went  from two skeins of sock yarn to one pair of awesome, perfectly fitted stripey socks! I love them. Since I knit them with a short cuff (which will be much more fitting for our warm winters here in CA) I was able to only use one skein of Knit Picks Felici and a party of the skein of grey yarn. YAY! 

Now that I know this technique works I can cast on this lovely yarn!!!


Sunday, June 8, 2014

Project bags galore!

I don't think I've ever posted about my project bag sewing. This is surprising, since I love to have little bags to carry around my knitting in. Years and years ago when I very first started sewing seriously, by that I mean things other than square baby blankets, I saw a Yarn Pop knitting bag somewhere.  I thought they were awesome and talked endlessly about them, but was not willing to spend the $20 to buy one of my own. At that point in time I still stored all my in progress knitting in clear plastic zipper bags! I even emailed my step mother a link to them,  secretly hoping she'd just make me one! Instead, she lent me a copy of  Sew What! Bags and assured me I would be able to insert a zipper in a small tote bag. This was the "teach a man to fish" approach, but I was not convinced and it took me a while to actually try because I was afraid to completely mess it up.
Originally I was going to make a bag with a buttonhole where the yarn pop bags have the grommet but in the months between coveting it and making my own, I realized I just wanted a simple zipper pouch that the project could be completely tucked into when not knitting on it. I guess I still don't get why you would want the working yarn to come through that grommet, and what do you do with the project when you aren't working on it? Do you have to tuck the whole thing into ANOTHER bag? Not for me.
One afternoon while my son watched Diego on the bed next to my sewing table I gave it a real try. I had collected my supplies, which were fat quarters from Joann's and a cheap zipper. I was amazed when it actually worked and I had this perfect project bag in about an hour.


The bag still gets a lot of use and is perfect for toting around an in progress sock or hat project. It really only fits one skein of yarn and the pattern, which is perfect for me. I love that it's lined and love that I found a zipper the exact shade of blue to match the flowers on the inside! 


I became a bag making machine, and made many more soon after that, a number of which I have given as gifts to fellow knitters.


As my sewing abilities improved I went in search of more interesting patterns. I began seeing Noodle-head's open wide zipper pouches EVERYWHERE in blog land. I made a bunch in different sizes. I like that they stand up on their own so you can sit a yarn cake squarely in the bottom and the yarn just flows right out! The smallest size one has become my tool kit and holds everything I need and then some. 


Soon after making those zipper pouches I started seeing the drawstring project bags all over the place. I made this gravity defying one first. OOPS I guess I'm still no expert if I can sew bunting completely upside down and not notice until the ENTIRE pouch is complete. I was so embarrassed to have this with me at Stitches this year that after seeing an entire booth of self "locking" drawstring pouches there I was inspired to try my hand at some new ones. 


Using ribbon to make the drawstring channel and then two drawstrings is the magic to the self "locking" part. This one is my favorite! I love the bicycles and that it's lined with denim for more structure. It is a perfect size for a slightly larger project like a child's sweater. And once I'd made one larger enough for a child's sweater I knew I needed one to hold my Burrard Cardigan and ALL the yarn and pattern stuff for it. So I made this one!


It is pretty big. I used 4 fat quarters to make it and didn't trim them at all. Since I don't usually take sweater projects on the go I wanted something to store the whole shebang in the house. This currently has ALL the yarn, the finished back and sleeves, the in progress fronts and the clipboard with pattern attached. It sits by my knitting chair and looks all neat and tidy! I love this fabric and really wish Joann's had it on a bolt, I've only seen it in fat quarters. 


The next logical step for my sewing skills seemed to be the ever prevalent in blog land, box tote. I mashed together a few different tutorials to make this one and it has become my go-to sock tote! I love the structure of it and the fact that it is compact and easy to carry.  It is perfect to hold a yarn cake and the pattern needed for any socks. It currently has two skeins of yarn in it since I'm doing a contrasting heal/toe on these self striping socks. 


Who knew I could blab on about project bags for so very long. I guess I'm a bit obsessed. Anyhow if you have a sewing machine and can sew even a vaguely straight line, don't purchase a project bag! Go make your own. Then you can choose fabric to match your unique personality! I think I have to go to my local fabric store now, and buy some Echino before they run out of it AGAIN! I think I need to make a few more box totes!!!


Friday, May 9, 2014

And the sewing continues!

This past week I have sewn up three summer shirts, ok technically 4, but one of them is too small so I will never wear it. It seems that sewing has become my de-stress mechanism of choice.

I made a second (ok third) Ruby top in tonal navy. I got this fabric at Joann's so it's nothing to write home about. The yoke is a cotton eyelet that weirdly did not like to be ironed, must be something in the thread used to embroider the cute design.  The lining is a cotton quilting fabric and the body of the shirt is a Linen/Poly blend that has a subtle texture to it. Hard to see on the navy, but the green shirt is the same fabric just a different color.


I really like the navy Ruby top. Somehow the color makes it a little more dressy so I wouldn't feel weird wearing it out on a Mom's night or something. 


Aren't crappy i-phone photos the best?! At least my case matches my new shirt!

The Josephine  (I told you I'd buy that pattern too didn't I?) is only ok. It seemed like it should have been easier than the Ruby since I decided on View C and that is only two pattern pieces and some bias tape but it was tough. 

It started with my buying the recommended 1 3/4 yards of fabric which may have been overkill, what do you think?


Then I just sewed it up only lengthening it at the bottom. I know I usually need to lower bust darts and lengthen the arm scythe, which could easily have been done all in one movement by lengthening it above the dart, but I  just sewed it up as it was. I ended up having to cut into the shirt after I'd sewn the side seams to lengthen the arm scythe, but that didn't do anything to put the bust darts in the right place, obviously. So I guess  all that extra fabric will be put to good use making another one where I cut the pattern and lengthen it a bit before the bust darts and then lengthen it at the bottom of the pattern piece as well. I think I'll wear this one anyways and maybe after a few wearings I'll have a better idea of what all I will want to change. 

I also had trouble with the center seam. I followed the instructions to the letter and the first pleat was supposed to encase the raw edges from this center seam, but mine was nowhere close. I had to finish these seams using another one of Rae's suggested seam finishes. This is actually one of my favorite things about these independent patterns. They teach you as you sew. I've learned so much about seam finishes from Rae!

All in all the Josephine is a cute top and I will make more, but I will have to seriously tweak the pattern to get it to fit my body properly. I always knew I had a long torso, but since I began sewing clothes for myself I have learned that a lot of my extra torso length is actually in my upper bust area! Interesting! 


P.S. Rae is running a few giveaways on her blog right now.. go and enter. Maybe you'll win one of her awesome patterns!


Sunday, May 4, 2014

Knitting has failed me!

I'm so surprised to say this, but knitting has abandoned me. In the past knitting has always been the thing I turn to in times of stress. It has helped me through many an emotional crisis and many a sickness. It's been crazy stressful around  here the last few days and no matter how hard I try knitting isn't helping me at all. I think maybe knitting is too second nature for me now, and doesn't use as much of my brain power as I need right now. It will keep my hands busy, but not my mind.

In its place I turned to the sewing machine this weekend. Sewing is still not second nature. It takes all brain cells to make a project work. On Saturday in a moment of supreme stress I downloaded the Ruby Top and Dress Pattern from Made by Rae. Her Washi dress is what got me sewing clothing and so I thought it would be perfect. It was.

I've had this polka dot double gauze hanging around waiting for the perfect pattern. I got it at Hart's Fabric, which I wish was right next door so I could go there every day! I knew I wanted to make a shirt with it. Turns out I need lots of shirt patterns as I tend to wear jeans or pants more often than dresses or skirts, so this one will be a great start. Maybe next May I'll have enough hand sewn items in my wardrobe to participate in Me Made May.

Anyhow, the first one I did was a straight size small and it came out great. But with the french seams I did on the side and the fully lined yoke it was just a tad short in the arm scythe area. So I redrafted the yoke pattern piece to be 1/2 inch longer and I lengthened the top by almost 3 inches. Second time is sheer perfection. It will be a great addition to my summer wardrobe.


If this stressful situation doesn't pass soon, I may have to download the Josephine Blouse next! Hmmm maybe I'll hit up Hart's for some voile!


Tuesday, April 29, 2014

What I'm loving right now!

Lately I've been really busy and haven't had as much crafting time as I'd like. Don't get me wrong, there's always  SOME crafting going on, just not as much as I'm used to. Part of that is that I went on vacation. With my girl friends. With no children. For an entire weekend. To MAUI! It was spectacular! It was my 40th and I really wanted to celebrate in style. Even though I brought along my knitting and did knit on the plane, I think I only knit two rows the entire weekend we were on the island. There was much more of this going on, and rightfully so!


But I digress, what I meant to write about today, is the thing I seem to do EVERY SINGLE WEEK, regardless of time or energy. Although it's not technically crafting, it is a hand made thing that I can't seem to live without. That, my friends, is homemade crock pot yogurt! It is my new best friend.

If you've never made yogurt before, it might seem intimidating, but really it's quite easy. We are a yogurt family and the cost of good yogurt not full of weird additives or tons of sugar was getting out of control. I searched the web for a few tutorials and ended up mashing a few together to get my recipe. Here goes:

Supplies:

Crock pot
1/2 gallon of your favorite milk
1/4 cup plain store bought yogurt (this is your starter and once you've made your own you won't need to buy this again)
thermometer
dutch oven or stock pot
sweetener of choice (honey or sugar or maple syrup, you decide)
beach towels


First: turn your empty crock pot on low. Then pour your milk into your dutch oven or stock pot and heat it on the stove on medium heat until it reaches 185 degrees. Best to do this slowly, so as not to scorch it. I stir a lot and test the temp about 500 times. Then when it reaches 185 place the whole pot in a sink of cold water. The water should reach about 1/2 way up the sides of the pot. DO NOT GET WATER IN THE MILK! Then let it hang out in the water bath for about 10 min or until the temp is around 100 degrees. You need it warm so set a timer so it doesn't get colder than 100 degrees.

At this point, take 1 cup of your warm milk and mix it with your 1/4 cup of starter yogurt. If you want plain yogurt skip the next step.  We like our yogurt with a little sweetener so at this point I add about 1/2 cup of vanilla sugar or a 1/2 cup of honey and about a 1/2 tablespoon of vanilla extract. Add this mixture and the balance of your warm milk into your crock pot. Mix well with a whisk and cover. TURN OFF THE CROCK POT! Now wrap the entire crock pot in a couple of beach towels and walk away.

I usually leave the whole thing on the counter for about 8 hours. I think it sets up a touch faster than this but I like to leave it for 8 hours on the counter, and then take the covered crock pot insert and stick it in the fridge overnight.

The next morning this is what you have:


For my family the thickness right out of the crock pot is perfect! I don't strain it, especially  since one of the reasons I LOVE me some yogurt is for all the amazing probiotic benefits. When you strain off the whey a lot of the probiotic friends get strained off too so I leave it alone. 


To make it easy for my 7 year old son to eat without assistance, I spoon it into 8 ounce canning jars. Some are glass and some are the nice plastic freezer jam ones. I usually add a spoon of strawberry preserves to the bottom and then spoon the yogurt over top. He loves them just like this, but I usually doctor mine up a bit.


I add blueberries (often frozen ones) and other berries and a big handful of granola and WHAM! Easiest healthy breakfast ever. 


It makes me so happy to see this stack of yogurt in my refrigerator! It's even better to know that for the cost of a 1/2 gallon of milk and a little bit of jam, I can make close to 12 containers for the week. Considering that to buy Stonyfield or Brown Cow I was paying over $1 per 8oz. container this seems almost  miraculous! 

I hope you'll give homemade yogurt a shot. It's not hard at all and the results are pretty spectacular!