

I did a little research which kept bringing me to Cosplay sites of adults making legit Jedi costumes. I searched for a ready-made pattern for a cloak or a robe or something to make it easier on me but the only child sized Jedi costume patterns I could find were only available on Ebay for outrageous sums of money.
I decided to hack it… which means I had to have faith in my ability to just cobble together a costume from odd bits and pieces. I knew it would take me FOREVER to do this so in late August (yes I know I am insane) I went shopping for Fabric. I had decided to use Melly Sews Sleepy Robe pattern as a jumping off point for the Jedi Robe and that's where I began. I bought 4 yards of Kona Cotton in Espresso at Joann's with a 40% off coupon thinking it would be enough fabric for the robe, the under tunic and pants. HAHAHAHAHA.. when you are done laughing at me you can continue to read about my process.
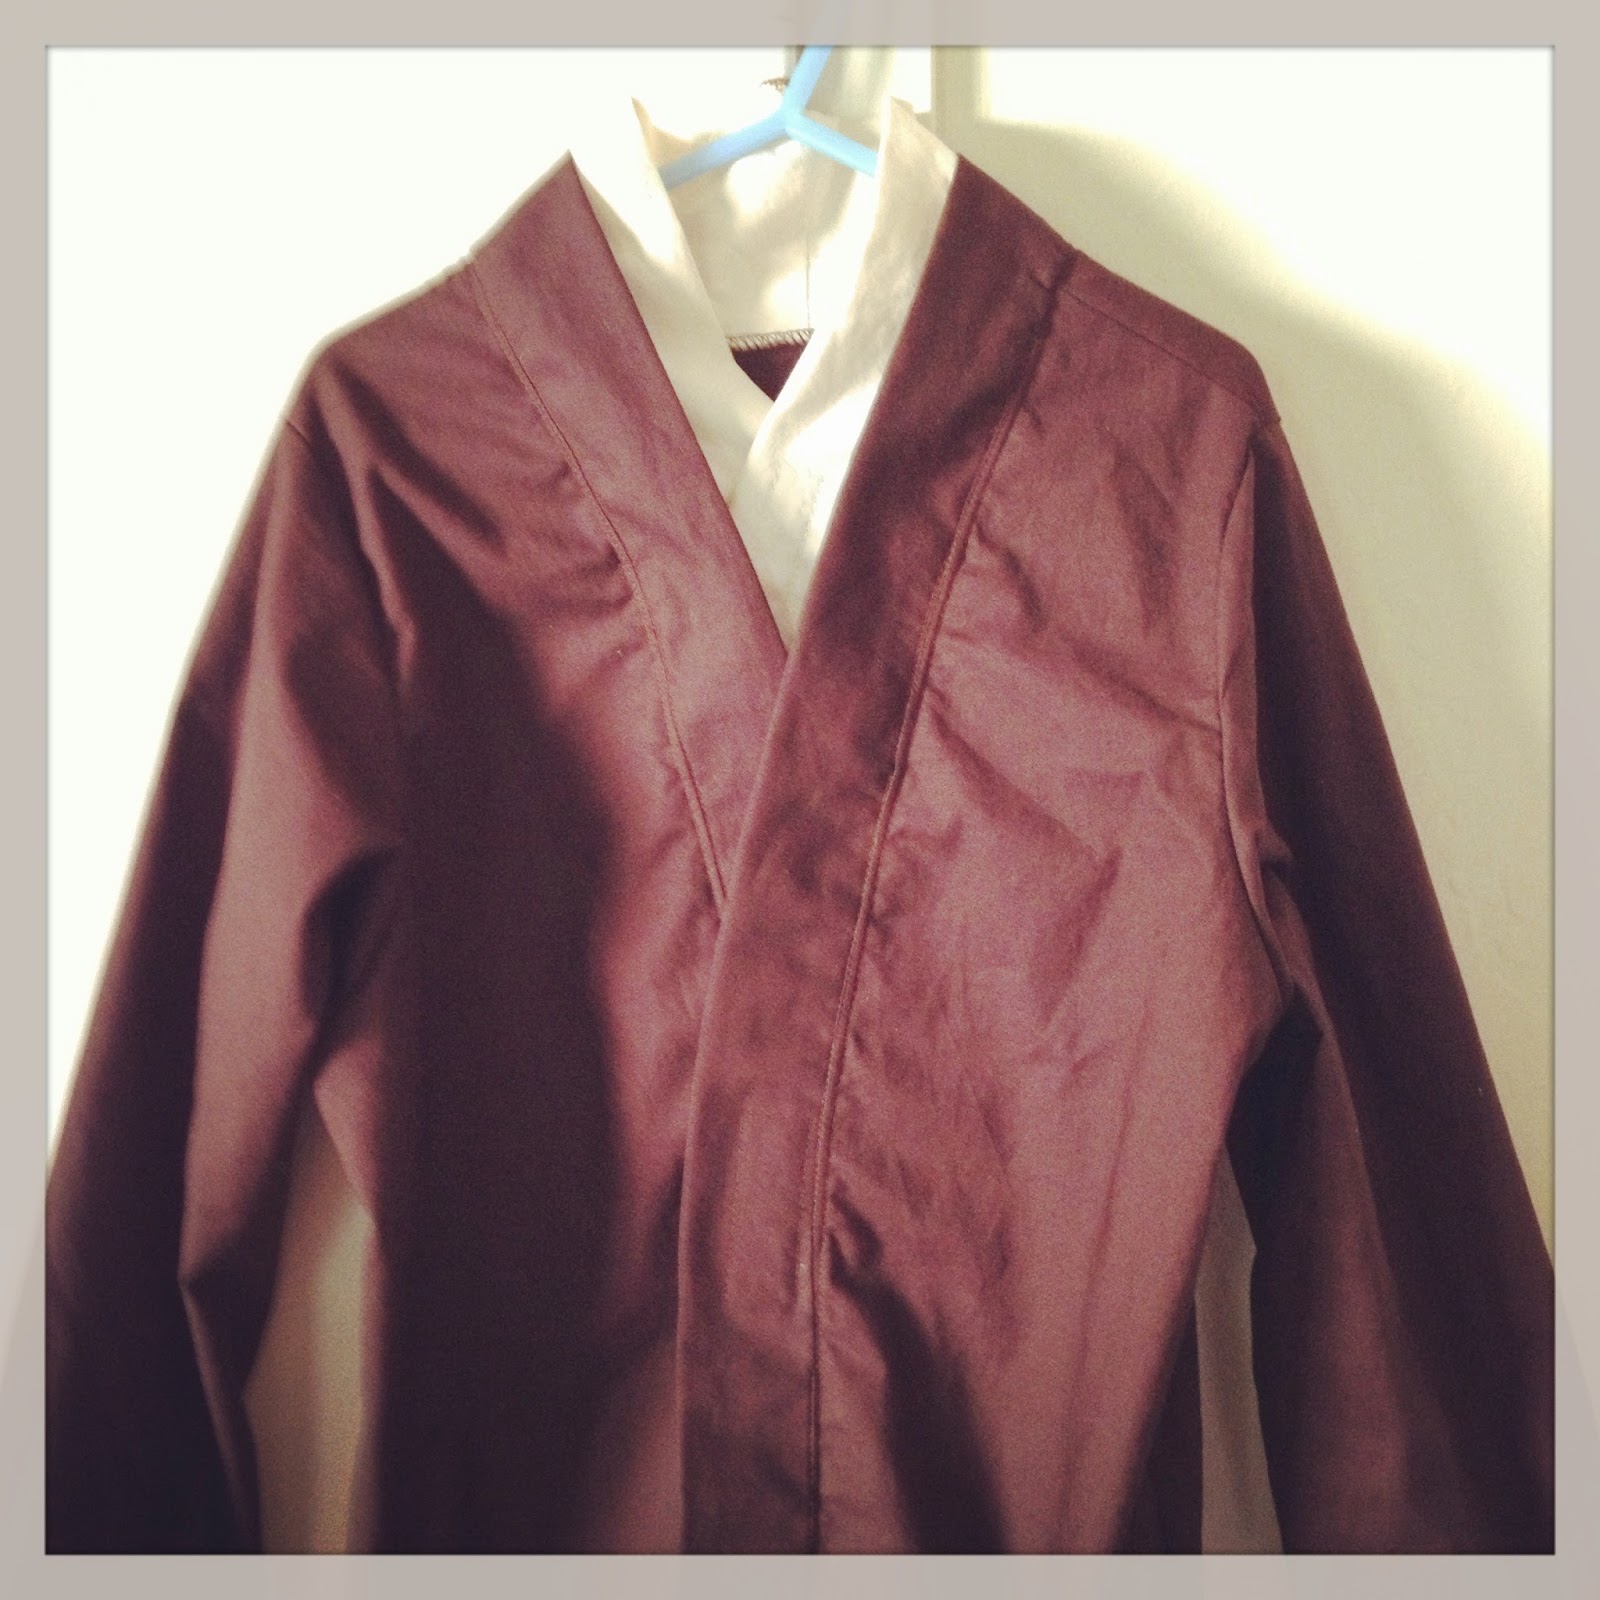
For the robe I lengthened the Sleepy Robe pattern so that it would touch the floor with a one inch hem. Then I widened the fronts by a couple of inches so I could sew in a few pleats to mimic the drape on a 'real' robe. I also widened the arms so that my son would be able to fit his hands into the opposite sleeve for that typical Jedi pose. BUT that said I didn't want them to have the foot plus of drape that the real robes have. I thought that for a 7 year old all that extra fabric would just get in the way.
For the hood I traced the hood of a zip up sweatshirt and then lengthened it by about 4 inches, and added a couple inches to the depth. It ended up pretty perfect. Then I just cut a 4 inch band to be the edge band and basically sewed it onto the edges all the way around from the bottom of one side, around the hood down to the other side in exactly the same way you'd sew on quilt binding. It worked great to finish it all off with about a two inch finished band.

Photos of my son are off limits for pinning!
He was already pretty stoked and wore the cloak around the house a lot just like this. But I knew I had a million other pieces to make before it would be complete.
The next big item was the tunic and under tunic. I knew I wanted them to be one piece but look like two. If he had to put too many pieces on to make the costume complete, I knew it would be no fun for him. I used the Sleepy Robe pattern again, but this time used the sleeves as is and cut it off to about mid thigh. I did add a bit of a wrap effect on the front by tracing a bit of a slope onto the fronts of the pattern. I did the same banding as on the robe. It looked great! But how to do the under tunic was a bit of a brain teaser. I ended up cutting up an old pillow case into about a 10" wide rectangle. I pressed it in half and surged the raw edges. Then I sewed the whole thing to the inside of the tunic so that the stitching was basically right in the ditch of the tunic banding. I didn't sew it completely down because I needed the under tunic to cross inside the tunic and the tunic to cross over it. Then I used two pieces of Velcro to hold them both closed. One on the beige fabric (the under tunic) and one on the brown fabric (the tunic). Done and done!
Next step was the leather tabards, which really really confused me for a while. Plus I was not looking forward to sewing the fake leather I had bought at Joann's. But after staring at it for about a month I just decided to go for it. I cut two strips 5 inches wide and 52 inches long. I top stitched around the entire thing to give it the look that it wasn't just a strip of fabric. Of course just these strips wouldn't stay on his shoulders no matter what. so I turned to velcro again. I sewed a strip onto each shoulder of the tunic and then one onto the center of each tabard strip. That worked great. They stayed on, gave him the look of a manly shoulder and made it so he could put the tabards and the tunic on at the same time.
In my mind one of the most important pieces of the costume was going to the belt/obi combo. Every Jedi wears one and they look like they are about 3-4 pieces each. Again, we are talking about a costume for a 7 year old here and ease of getting into and out of the costume had to trump authenticity to me. I made the obi, wide belt, and skinny belt all one piece by sewing them all onto each other.

I sewed a little pouch on there that closes with a snap and I think it gives the whole belt a pretty authentic look. It just closes in the back with a long strip of .. you guessed it… velcro!
For boots I was torn. I didn't want him to have this awesome costume and then just put on his sneakers with it and I didn't want to make cheesy boot covers because I feel like they often SCREAM HOMEMADE!!! But I also didn't want to spend big bucks on authentic looking boots. I opted to do a little spending and a little making. I bought him black rain boots which he needed anyways and then I made a pleather covering for the front that mimics the Anakin boots this place sells for adults. I pleated the pleather, cut it to a basic shape and then again used velcro to secure it to the boots and his legs. I also sewed on a piece of clear elastic that goes over the sole of the boot to keep them from riding up too high.
 |
| don't pin images of my son! |
 |
| Don't pin images of my son! |
This was the first time I have ever created something this detailed without a pattern. I knew what I wanted it to look like and I took my time working on the details. It is nowhere near perfect but my son was thrilled with it and was super excited when he was 'awarded' his Jedi Knight saber!
Happy Halloween and May the Force be with you!
No comments:
Post a Comment